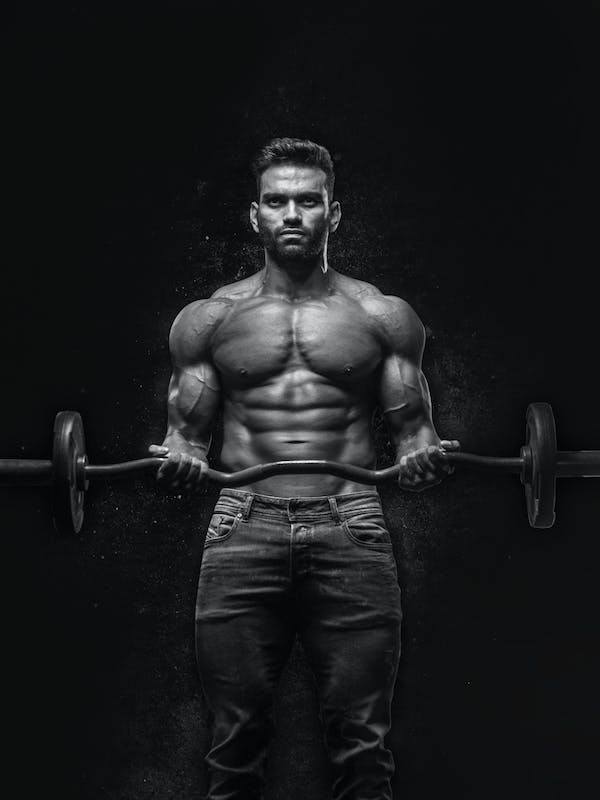
Body building now easy
The prefect way to build up your physic is now online wit our courses
- 0
- (0 Reviews)
- 0 User Enrolled
Requirements
- Body
Description
You’ll need a raised surface like bench, box, or chair to do decline pushups.
The higher the surface, the harder the exercise will be. If you’re new to decline pushups, start with a low surface, like a curb or step. You can increase the height over time.
- Kneel down with your back to the bench. Put your hands on the floor, shoulders over your wrists and elbows at 45 degrees. Place your feet on top of the bench.
- Brace your core, glutes, and quads. Bend your elbows and lower your chest to the floor, keeping your back and neck straight.
- Push into the floor to return to starting position, extending your elbows.
- Complete 2 to 4 sets of 8 to 20 repetitions.
Stop doing this exercise if you feel pain in your wrists, elbows, or shoulders.
Like all exercises, decline pushups require proper form to effectively work your muscles.
Proper technique also helps you avoid pain and injury.
Keep your back straight throughout the entire move. To avoid arching your back, tilt your pelvis backward. Engage your core and glutes to stabilize your spine.
You should also look down — instead of up — to maintain a neutral neck. Make sure your back and neck are aligned at all times.
To protect your shoulders, avoid flaring out your elbows. Always keep them at 45 degrees.
The main benefit of doing decline pushups is building strong upper chest muscles.
In a decline pushup, your arms push up and away from your torso.
This movement works your upper pecs and the muscles in your shoulders.
When done regularly, decline pushups will help increase your overall upper-body strength. A strong upper body is essential for everyday activities like lifting groceries and carrying a backpack.
You can modify the decline pushup according to your fitness level, preferences, and goals.
Adjustments will also keep your workout interesting and fun.
With the following variations, you can enjoy the benefits of decline pushups in different ways.
Make it easier
Use a low bench or step to make decline pushups easier. The surface should be an inch or two off the ground.
If you’re having trouble with decline pushups, practice your regular pushups first. Once you’ve mastered the basic version, try the decline pushup.
Make it harder
To make the decline pushup harder, place your feet on a higher surface. You can also put them on a wall to do an advanced wall pushup.
Another option is to wear a weighted belt or vest, which increases the amount of weight you need to lift.
Here are more ways to challenge yourself:
- One-leg pushups. Keep one leg lifted while doing decline pushups. Repeat with the other leg to complete one set.
- One-arm pushups. Place one arm behind your back.
- Stability ball pushups. Put your hands on a stability ball instead of the floor. Engage your arms and core to stay balanced.
- Knee tap pushups. After each pushup, bend your knee toward your elbow. Alternate sides in between pushups.
- Dumbbell pushup rows. Place each hand on a dumbbell. After you do a pushup, pull one dumbbell upward, then repeat with the other side.
- Clap pushups. In the upward phase, push up explosively while keeping your body straight. Clap while you’re in the air and gently land.
These modifications are advanced moves, so you might want to try them with basic pushups first. Talk to a personal trainer for one-on-one guidance.
Focus on different muscles
You can also change the position of your arms and hands to target different muscles.
These muscles include:
- Triceps. A narrow pushup, where your hands are placed close together, increases activity in your triceps.
- Chest and shoulders. Placing your hands wider than a normal pushup focuses on the chest and shoulders.
- Biceps. To increase biceps activity, rotate your wrists and forearms to point your fingers back. This version can be hard on the wrists, so it’s important to practice proper form.
These positions might feel awkward at first, so it’s best to work with a personal trainer to avoid
Recently Added Courses


About the Instructor

I can help you achieve your goals and fullfill your dreams. Sign in to my course and get started today